Stretching an image looks simple, but the outcome hinges on which handle you grab and whether you hold Shift. Drag a corner handle alone and the image warps freely, breaking its original proportions. A side handle pulls only horizontally or vertically. To resize cleanly, hold Shift while dragging a corner. That locks the aspect ratio and scales the image uniformly.
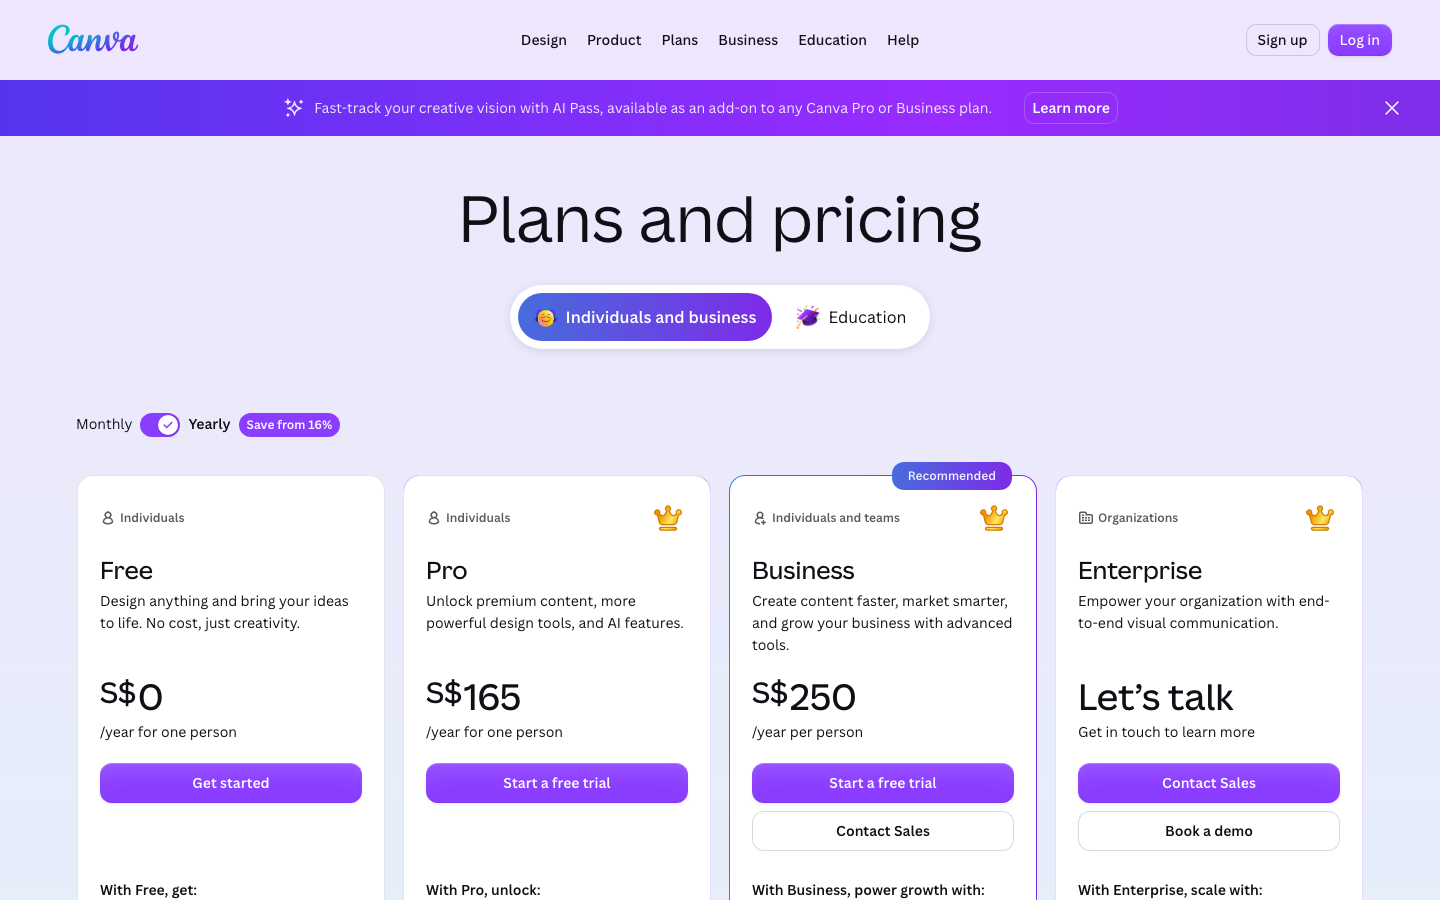
The same rules apply across Canva Free and Canva Pro. Both support JPG, PNG, SVG, WEBP and GIF uploads. The Pro tier adds Background Remover and Magic Resize, tools that change how you prep an image before scaling.
Using the bounding box handles
Click any image to reveal white circular handles at each corner and side midpoint. Those are your only stretching controls.
Hold Shift and drag a corner handle. The image grows or shrinks in lockstep. This is the single safest way to enlarge or reduce a photo without cropping or squashing it.
Drag a corner handle without Shift and the aspect ratio snaps. A square becomes a rectangle; a face elongates or flattens. Deliberate distortion can work for abstract backgrounds, but for photos you want Shift held.
Side handles behave differently. Dragging the top, bottom, left or right midpoint pulls only along that axis. The opposite edge stays planted. Use this to fill a fixed width or height, but accept that it will always alter the proportions.
Stretching with the crop tool instead
When you need to fit a layout without warping pixels, reach for the crop tool. Double-click the image or click the crop icon in the toolbar. White crop handles appear at edges and corners. Drag them to trim or expand the visible frame. The pixels inside never distort; you are simply adjusting the window around them.
Picture a photo that runs slightly too wide for a banner. Cropping the left and right edges discards content but keeps what remains proportionally true. Free stretching would compress the same image horizontally, thinning everything out.
You can also rotate the crop boundary before applying it. This shifts framing rather than pixel geometry, a visual tweak that feels like a stretch but isn't one.
Preparing images before stretching with Canva Pro
Background Remover
Canva Pro's Background Remover isolates a subject so you can stretch the background layer independently. Cut out the foreground first, then pull the remaining layer into any shape you need. The subject stays intact because it sits on its own layer.
Magic Resize
Magic Resize does not stretch individual images. It rescales an entire design for a new format, converting a square post into a vertical story, for example. Images inside the design reposition or scale proportionally; nothing gets pulled out of shape. Think of it as a layout tool, not a distortion tool.
Free tier reality
On the free plan, the same drag handles do the heavy lifting. Background Remover and Magic Resize aren't included, but the core resizing workflow is identical and sufficient for most tasks.
Common mistakes and how to avoid them
The top mistake: yanking a corner handle without Shift and then staring at a warped photo. Canva gives no aspect-ratio warning. When you spot the damage, press Ctrl+Z (Cmd+Z on Mac) to undo. Select the image again and drag with Shift held.
A second slip-up is grabbing a side handle when you meant to grab a corner. Side handles always act on a single axis. For overall enlargement, stick to a corner handle plus Shift. Reserve side handles for filling a specific dimension where some distortion is acceptable.
Confusing crop with stretch is the third classic. Crop reframes; stretch re-forms pixels. Removing dead space around a subject? Crop. Making the subject wider or taller? Stretch. Picking the wrong one gives the wrong result, and usually means restarting.